
During our Kickstarter campaign for Chaos of Cthulhu, we offered sculpted Cthulhu altars as add-on items. While these do not do anything to increase your chances of winning the game, they certainly do increase your favor in the eyes of The Great Dreamer.
With the altars in the hands of cultists worldwide, we thought we’d put together a simple painting tutorial for customizing them. So let’s get to it.
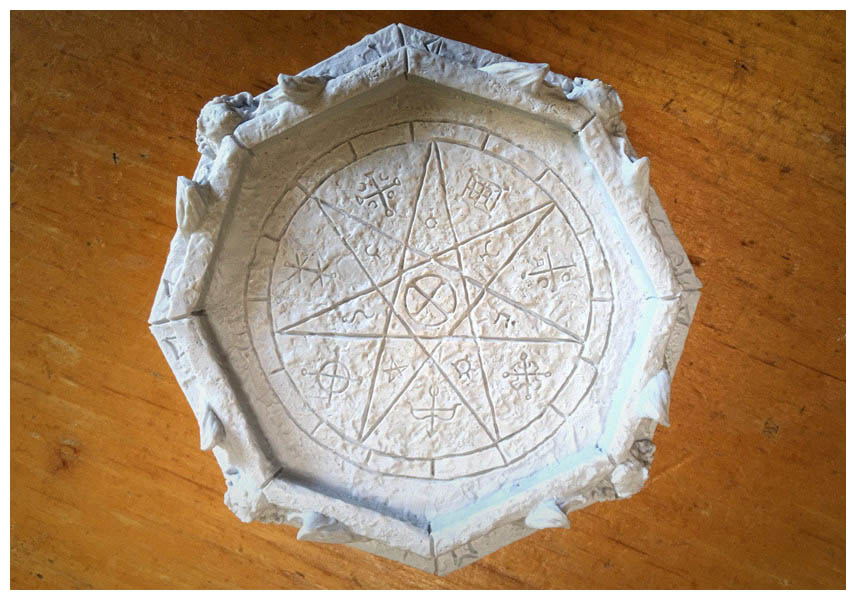
We decided that we wanted our alters to look weathered like they’ve been sitting out in the elements for many many years. To get this look, it’s quite simple.
STEP 1: The first thing we recommend before painting your alters is giving them a quick bath. Ready a small amount of water with a drop of dish soap. Then gently scrub them with an old toothbrush. Or just rubbing your fingers over them should do. Then rinse and dry them off.
STEP 2: This next part is optional. We say this, because we didn’t do it for ours. But you might have a better result if you do. Cover the alter with a coat of white or grey primer. You can find this at your local hobby stores like Michaels in the model paint section.
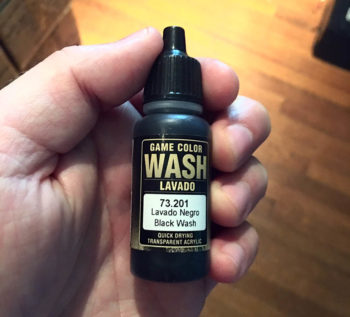
STEP 3: For the next step, we used Vallejo Black Wash. If you’re not sure where to get it, we found ours on Amazon, but you can probably find a similar wash at your local shop.
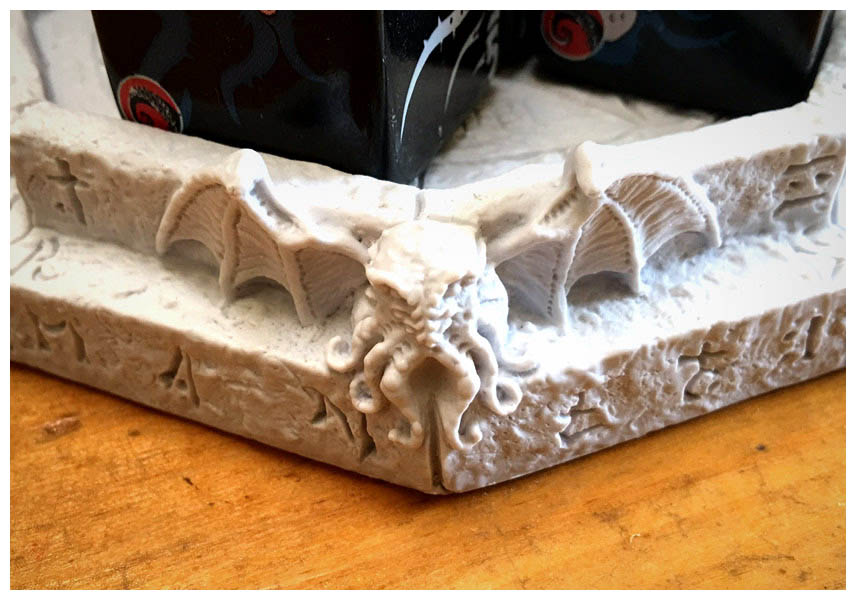
Pour a small amount of wash into a color pallet if you have one. Or you can do like we did and just use a paper plate. Then, using an small paint brush, cover the alter in it wash. Try not to let it pool in the flat parts, and get most of it around and into the recessed glyphs and Cthulhu heads. We used two different brushes for ours. An older brush with flimsy bristles for the covering part, then a smaller, fine brush for the small details that are more difficult to get into.
When using a wash, it’s important to remember that it isn’t meant to be used like a regular paint. You aren’t trying to put an even coat on the altar. You want there to be variations and unevenness, with the majority of the wash pooling in the cracks and crevices to bring out the details.
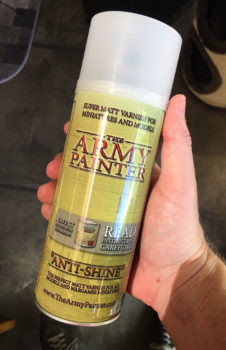
STEP 4: Once the wash is dry, seal it in with a coat of varnish. We used anti-shine from Army Painter.
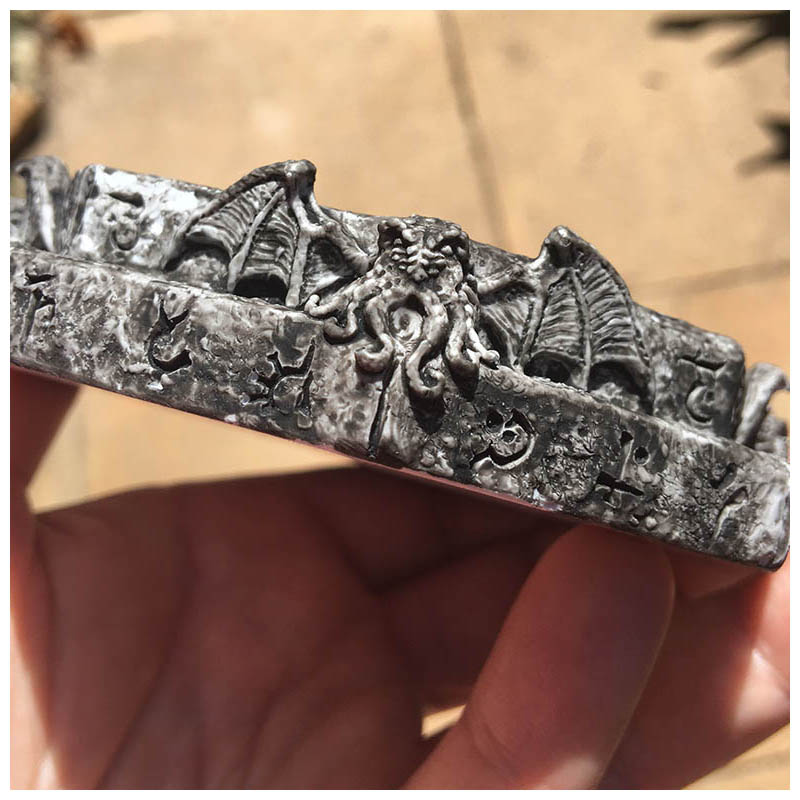
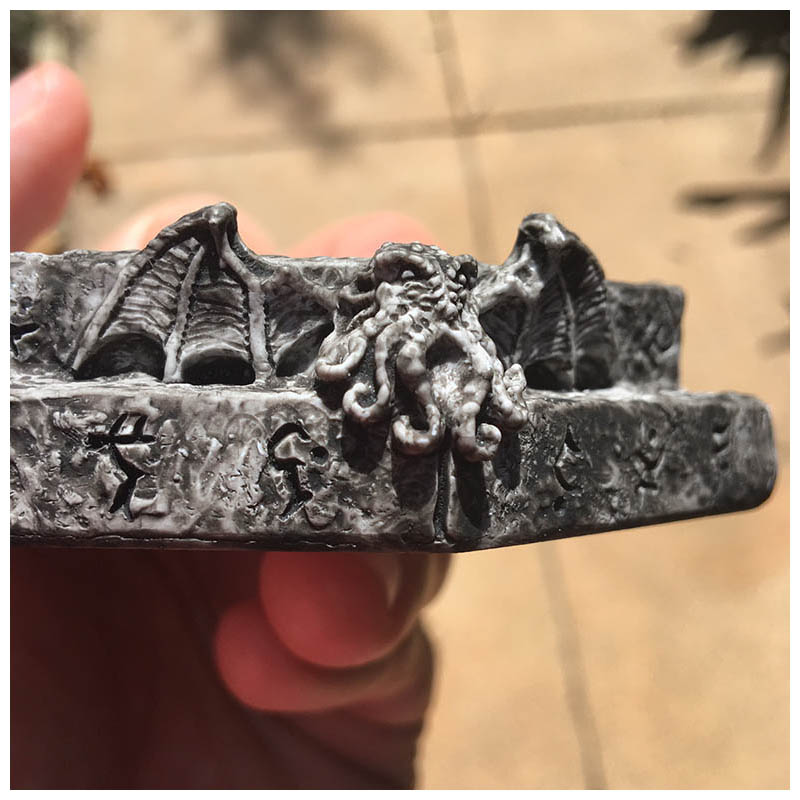
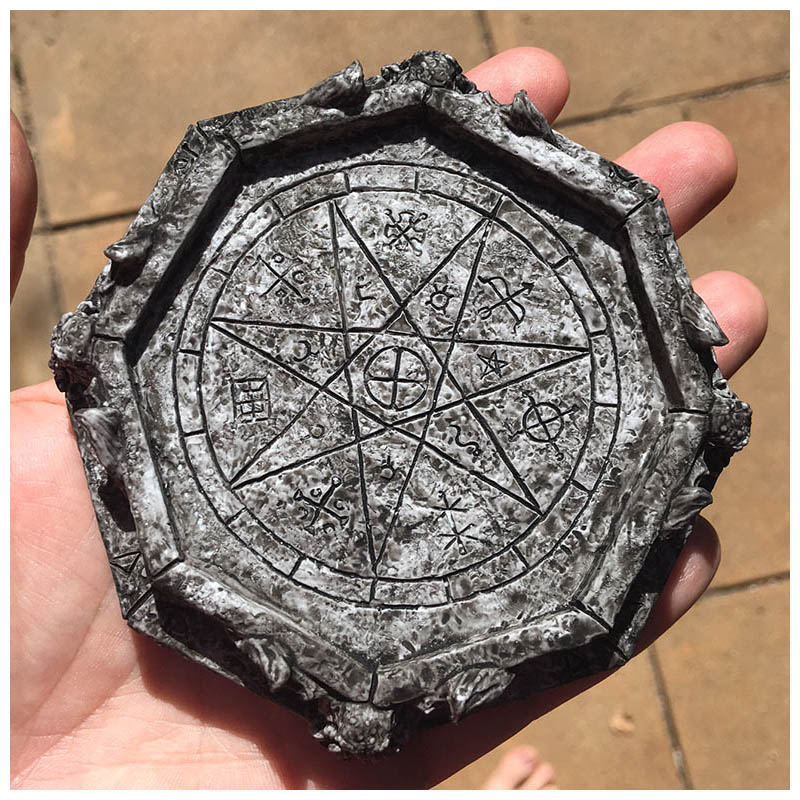
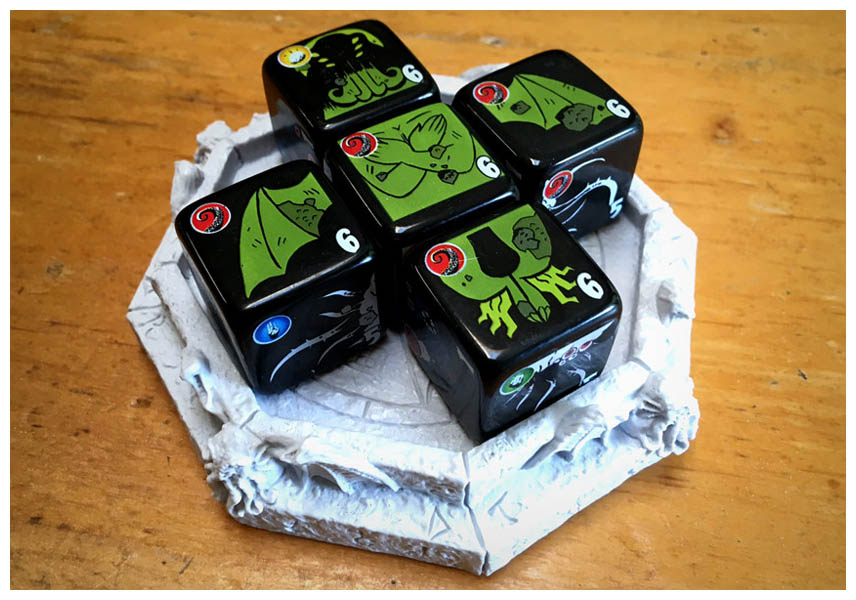
FINAL RESULTS: And here’s the results. We’d love to see what you do with yours. Please share some pictures with us on Facebook, Twitter, and Instagram!